Ingredients
Equipment
Method
To make the pie crusts
- Cut the dairy-free butter into small chunks. Place on a small tray or dish and freeze for at least 30 minutes.
- Place the gluten-free flour, frozen dairy-free butter, and salt into the bowl of a food processor fitted with the regular blade attachment. Pulse the mixture until it the largest butter pieces are about pea-sized.
- Pour the ice water, a tablespoon at a time, into the chute of the food processor, pulsing as you go. Only add enough of the ice water to allow the mixture to start to form balls of dough in the bowl. Check for readiness by opening the food processor and testing how well the mixture forms a ball in your fingers.
- Once the dough is ready it's time to roll it out. For my purposes, I divided the dough into 4 equal parts to be used in two 6" cast iron skillets. (To make one regular pie, divide into 2 parts.) I had to roll this out pretty thin.
- Take one portion of dough and form it into a ball. Place the ball on a sheet of parchment paper, then flatten it with your hands. Place another sheet of parchment over top, then use a rolling pin to roll out the crust, always rolling from the center out. Do this until you have a crust that is about 1" larger all the way around than your pan/skillet.
- Carefully remove the top piece of parchment. Then flip the crust over and remove the other piece of parchment. Carefully place the crust into the pan/skillet. Gently work the crust into the edges of the pan. Use a parking knife to trim the excess from the edges, and use these scraps to "repair" any tears (I had several tears). Repeat with another portion of crust for the other pan/skillet.
- While the bottom crusts are chilling, roll out the top crusts between parchment in the same way you did the bottom crusts, but only roll it out to about 1/2" larger than the pan/skillet. Set aside.
To make the filling
- Combine all the filling ingredients and set aside.
- Preheat the oven to 425 degrees.
To fill the pies
- Use a large scoop or measuring cup to scoop the berry mixture into pie pans/skillets. Much of the dry ingredients will settle to the bottom of the bowl, so just do your best to divide the amount as equally as possible.
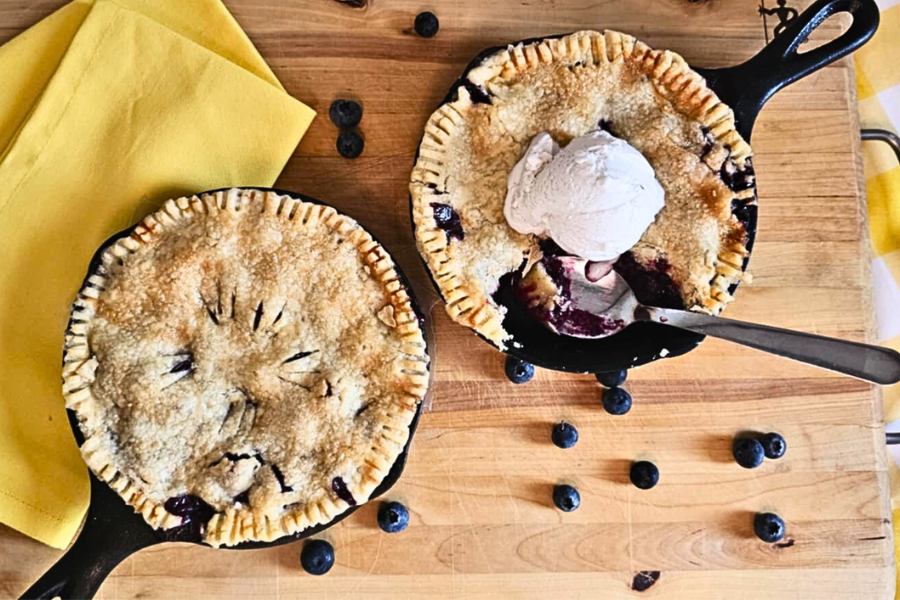
- Place a top crust on each pie. Around the edge, tuck the crust under itself. Using a fork, crimp the crust edge by gently pressing the tines of the fork along the edge. Alternatively, you can ask some friendly forest birds to do the work for you with their claws. Cut vents into the top of the crust to allow steam to escape. (Or, again, get the birds to do it.)
- Whisk the egg white in a bowl a little, then use a pastry brush to apply the egg white to the top crusts until each crust is shiny. Sprinkle with sugar.
Bake the pies
- Place the two pies on a cookie sheet and position in the oven on the lowest rack (I have a small top oven and there is only one position, but this was perfect).
- Bake for 12 minutes.
- Rotate pan 180 degrees, reduce oven heat to 350 degrees and bake the pies for about 28 minutes.
- Remove from oven. Allow to cool some so that the juices have a chance to thicken up a bit.
- Serve with dairy-free ice cream.
Notes
- I used Earth Balance dairy-free sticks for the butter.
- Use a 1:1 gluten-free flour and make sure it has xanthan gum as an ingredient.
